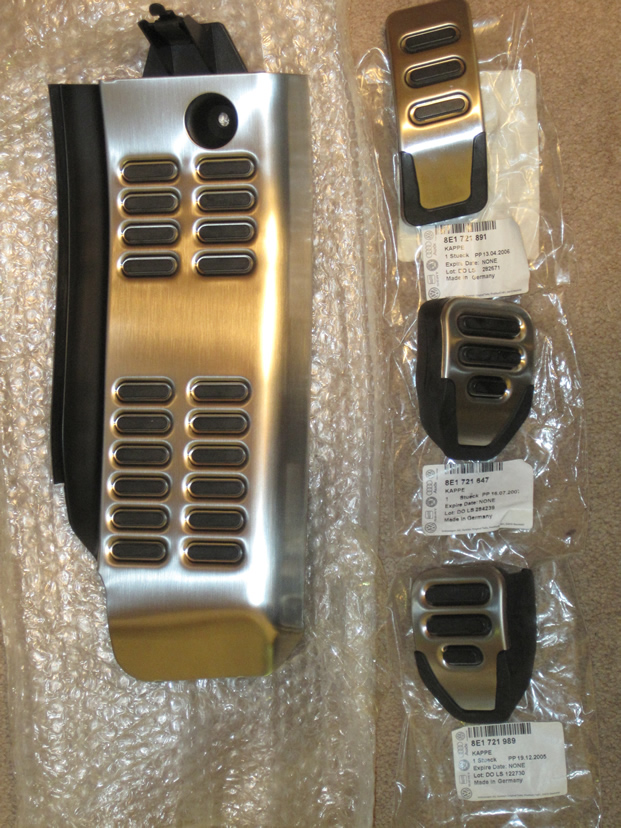
.: RS4 / RS6 Pedal Swap
This has been looked at by some as a questional mod. I think once you drive a car with these pedals you'll understand. Not only do they provide a nice subtle enhancement to the look of the car but they als provide better grip for your shoes to the slightly softer rubber used on the pedals.
Now there is some modifications required to use the dead pedal as there isn't a pedal set available yet for the B8. You don not have to swap out the dead pedal but it does finish the look.
I have provided the part numbers for both the Automatic and Standard transmission cars as well as left and right hand drive. Please check the part numbers carefully and order accordingly. Apparently the RS6 dead pedal can be used instead of the RS4 and requires slightly less triming but I prefered to keep the set complete.
Now although there is not a lot of mechanical experiance required to do this swap you will require patiances. It can be frustrating and difficult to swap these over and isn't as easy as you may think. Based on that I would rate this as a 4-5 out of 10 for frustration purposes. My understanding is the Automatics are ALOT easier.
*Note: Since there is no direct instructions for performing this swap I am providing this as more of a guide instead of a DIY. I will provide hints and show lots of pictures so you can work through this on your own.
I have listed the part variations but up to the point I did my swap everyone was using the RS4 dead pedal with both the Automatic and Standard. I have listed the RS6 Dead pedal cover because a member of Audizine showed it on his car and claimed it required less work to install. I have not seen or confirmed the fit personaly.
Parts for 6MT (RS4)
LHD
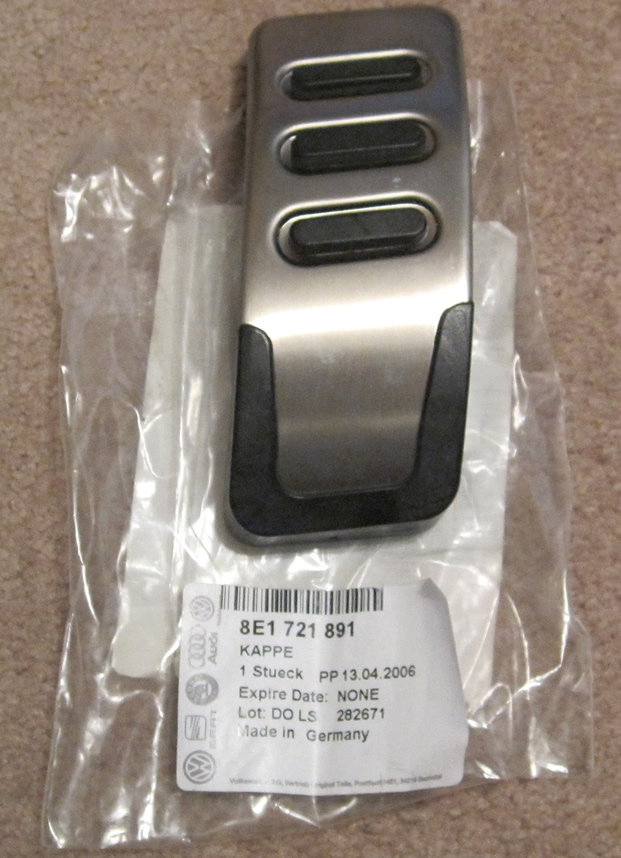
Gas Pedal: 8E1 721 891
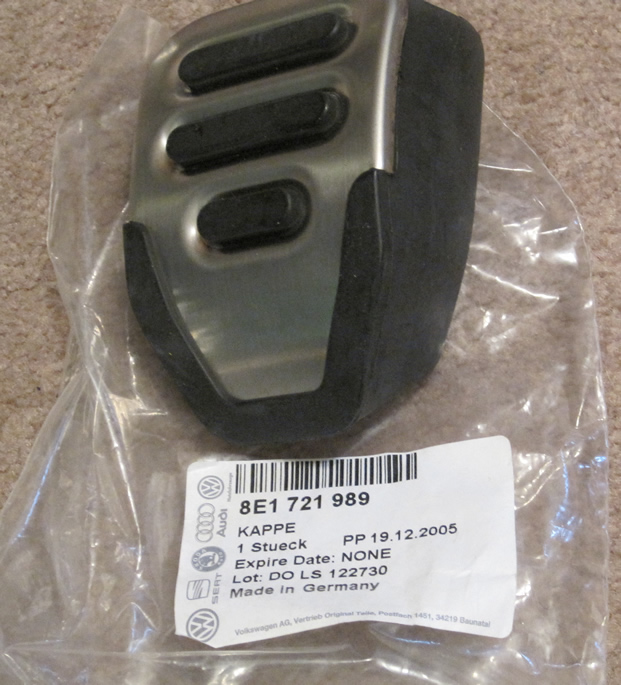
Brake Pedal: 8E1 721 989
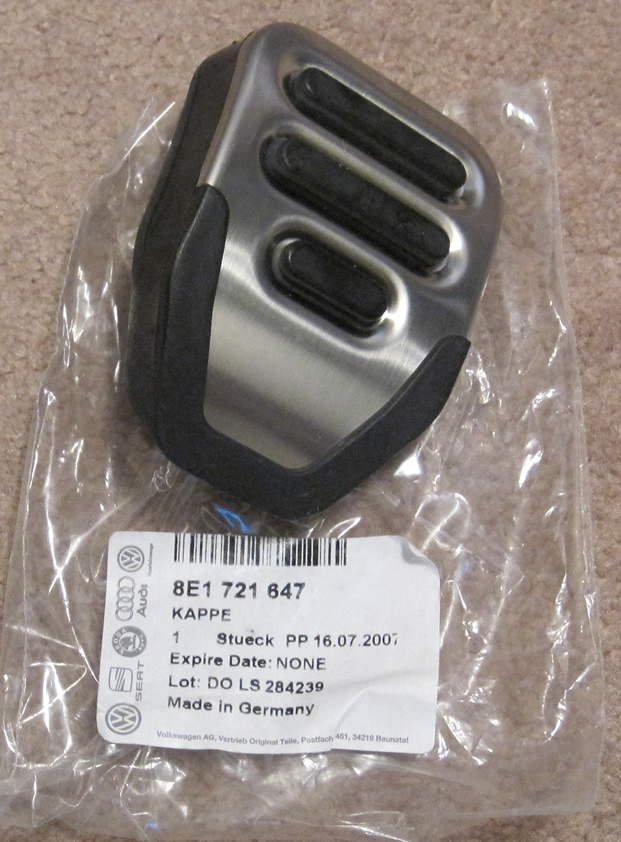
Clutch Pedal: 8E1 721 647
Dead Pedal: 8E1 864 777 A 4P7
Optional: B8 Dead Pedal: 8K1 864 777 4PK
RHD
Gas Pedal: 8E2 721 891
Brake Pedal: 8E2 721 989
Clutch Pedal: 8E1 721 647
Dead Pedal: 8E2 864 777 A 4P7
Optional B8 Dead Pedal: 8K2 864 777 4PK
For TIP(Automatic)(RS6):
LHD
Gas Pedal: 4F1 721 891
Brake pedal: 4F1 721 989
Dead Pedal: 4F1 864 777 C
Optional: B8 Dead Pedal: 8K1 864 777 4PK
RHD
Gas Pedal: 4F2 721 891
Brake pedal: 4F2 721 989
Dead Pedal: 4F2 864 777 D
Optional B8 Dead Pedal: 8K2 864 777 4PK
*Note The reason I list the optional deal pedal is because Audi lists the dead pedal as a non reusable part. When you remove it some clips will break. You will probably be able to reuse your original without an issue but for the small cost it may be worth buying it an preparing it prior to starting your install.
The tools you will need:
1 - Small slot screw driver
1 - Pliers
1 - Pot of Hot water
1 - Oil lubricant
1 - Sharp box cutter
Yes it looks like a strange list..
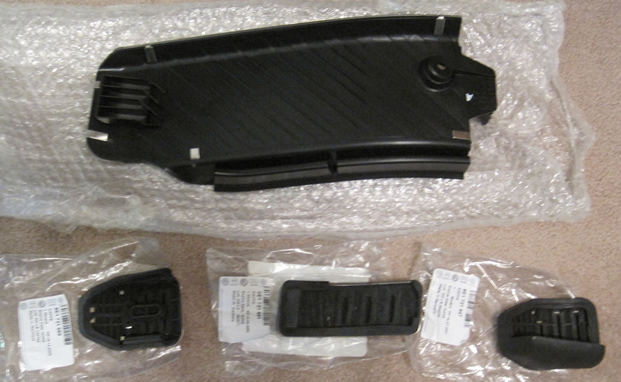
Now before you start you need to remove your dead pedal and modify it to take the cover from the new dead pedal.
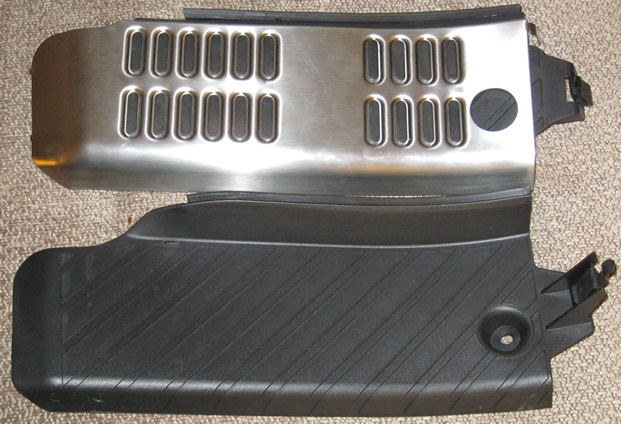
The RS4 dead pedal will not fit the B8. The metal part is actually a cover over a plastc dead pedal similar to the one in the B8. You will remove it from the pedal it comes on and transplant it to your old one.
Audi states in the shop manual that the dead pedal is not a reusable part and should be replaced after removal since the clips are designed to break. All but two of mine broke but it went back in no problem. I have ordered a new one considering the investment it's a $15.00 part.
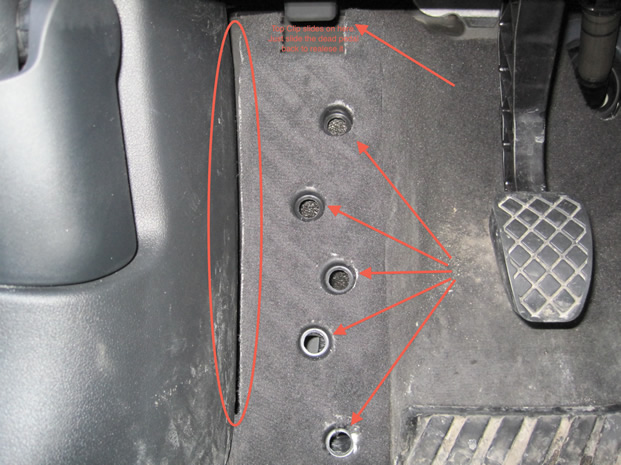
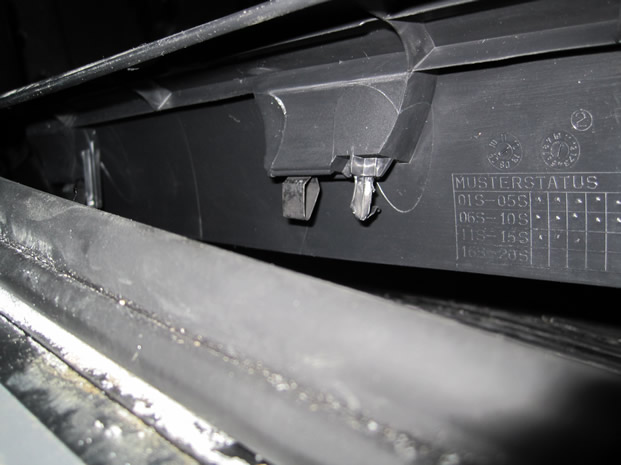
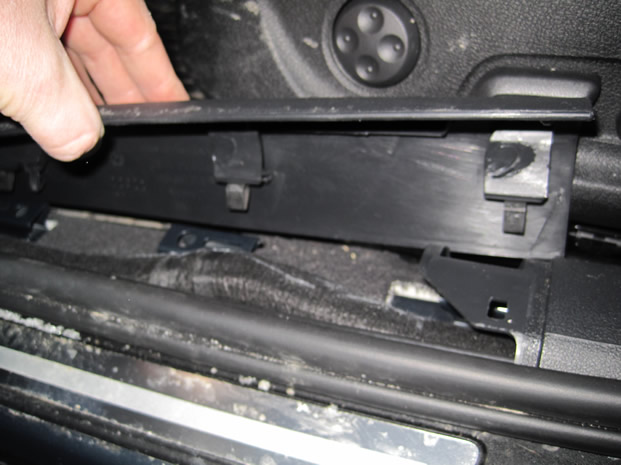
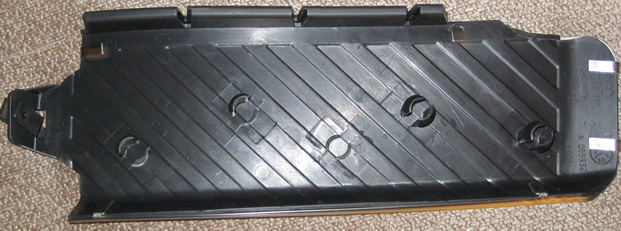
The dead pedal is held in place by 5 large clips on the back, 1 clip at the top of the pedal and the dead pedal hooks under the kick panel on the left. Just about everything can be done with a bit of muscle.
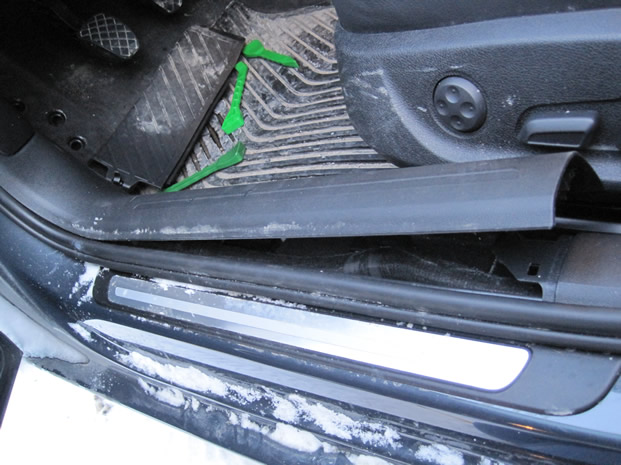
Push the top of the dead pedal back to release the top clip. Then get your fingers under the dead pedal and pull up HARD. Now you will need to get the pedal from under the left hand panel. You can wiggle it and push down and work it out. Or you can pop the side panel off to give yourself a bit more play. I did not completely remove the panel to get the dead pedal out. I just unclipped it. .
Once you got the part out you can check for broken clips and start modifying the part.
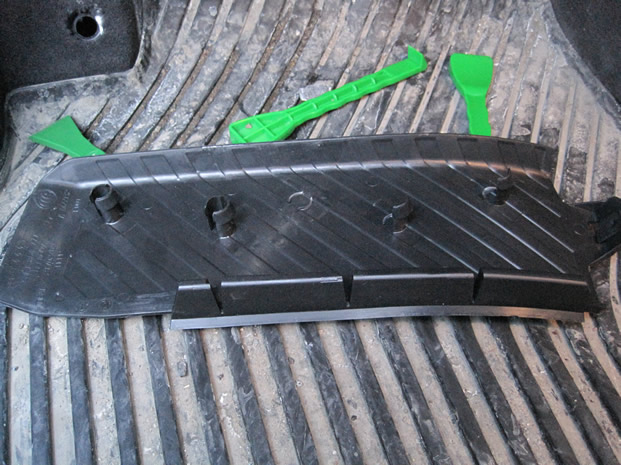
Now before starting remove the cover from the new dead pedal so you can use it to trim the old one. You do do this by bending the clips on the back up. I just used a screwdriver and bent them up
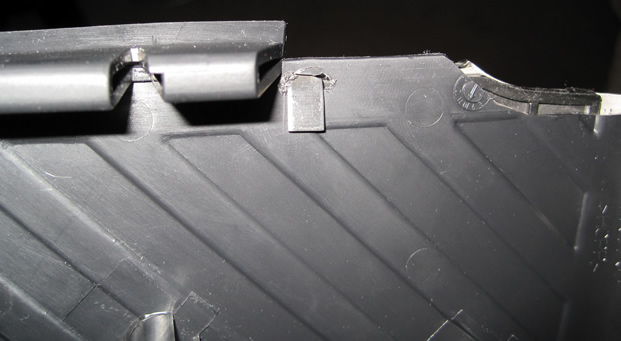
OK before you continue you have two options. You can just break off the one tab that goes through the pedal and go without it or you can make a small hole in your old pedal and push it through. I choose to make a hole.
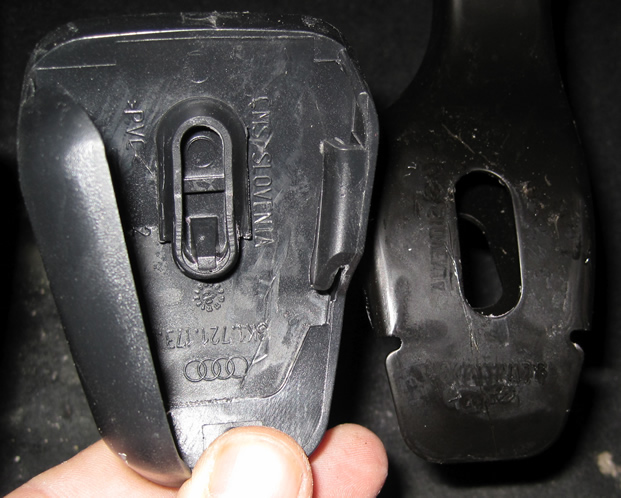
You don't have to trim the old pedal but I figured I would and see how it worked out. Here are some comparison pictures. All I did was scribe the plastic and cut it with a sharp box cutter. The plastic was fairly soft.
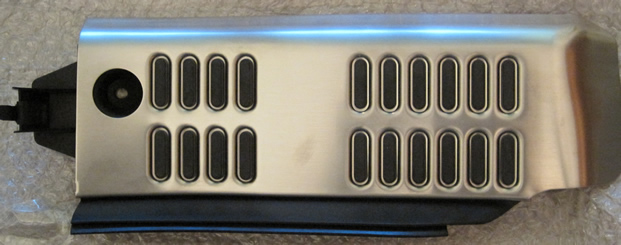
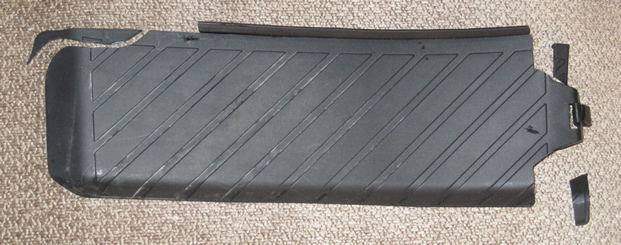
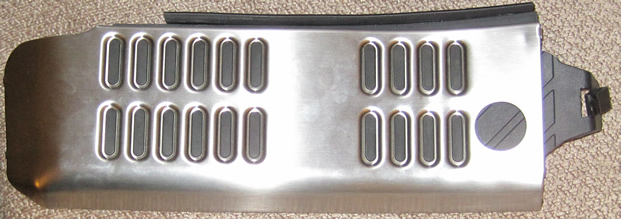
Cover:

Showing what I trimmed:
Side by side:
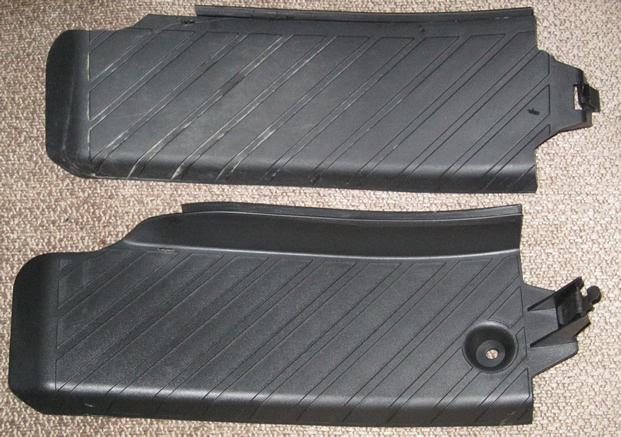
On Original Pedal (side by side):
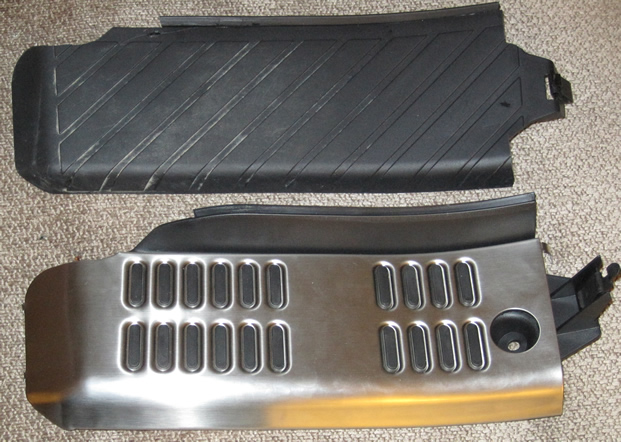
On Modified Pedal (side by side):
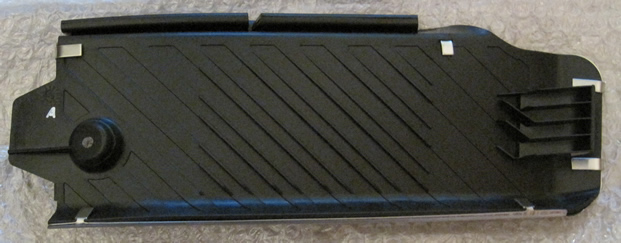
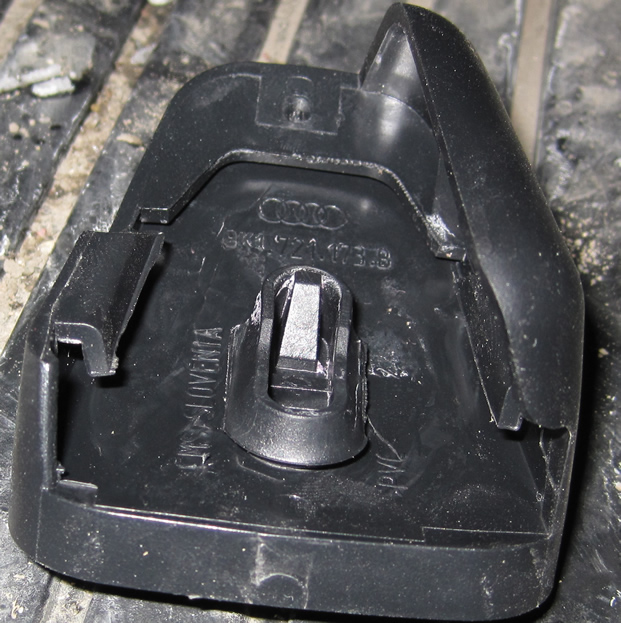
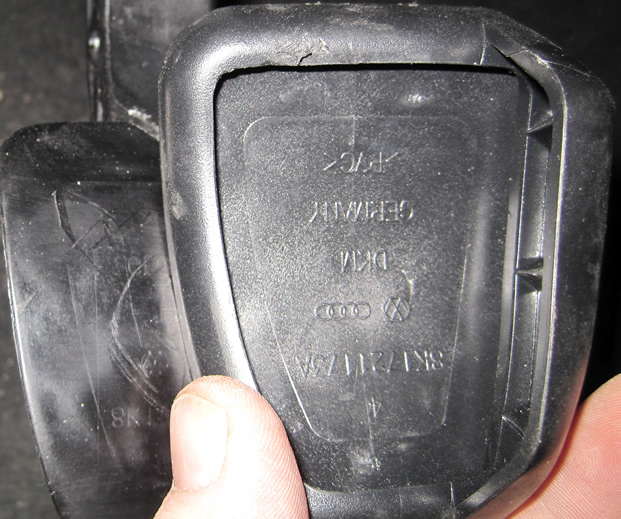
Modified B8 Front and Back:
With new hole made for clip:
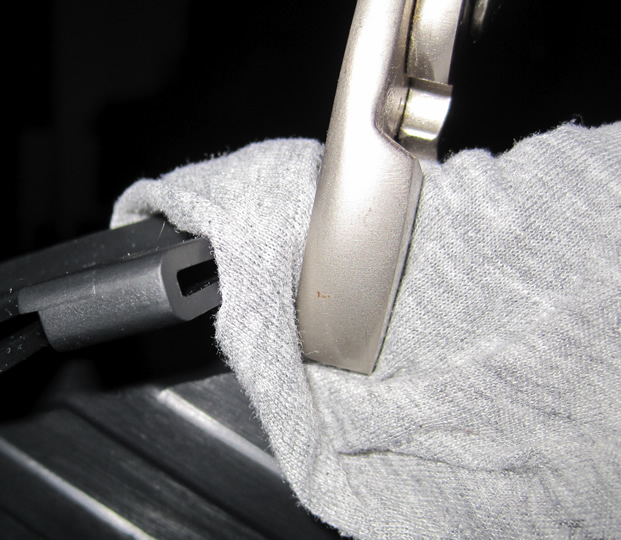
To close the tabs without scratching the finish I just used a t-shirt over the parts:
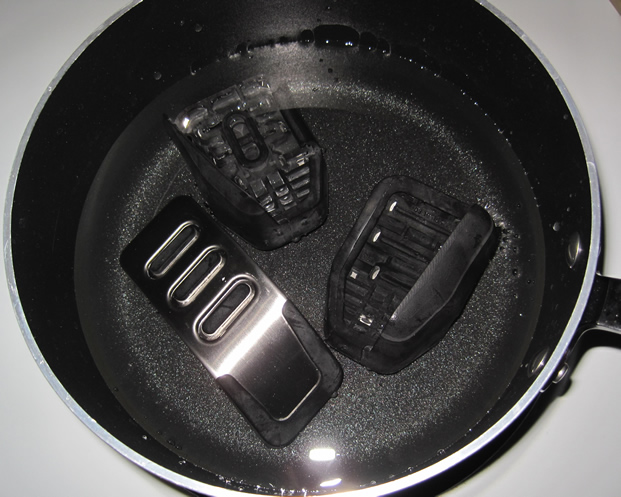
Time to get ready for the install: While you go and get the dead pedal back in and remove the brake and clutch pedals start up a pot of water about half way between low and medium and warm the rubber up. It will help it bend better. Not that it helped me to much with how long I struggled with the clutch and gas pedal but the theory is sound.
Go and put the dead pedal back in. Slide the part that hooks the left panel first as this has a lot of play in it (you can slide the pedal up and down until you line up the holes for the clips). Once it's snapped in you can bend the top clip back until it hooks onto the under-dash cover.
Now for the real PITA.
The brake pedal will slide off pretty easy, just pry the top of the pedal off a bit and slide it off.
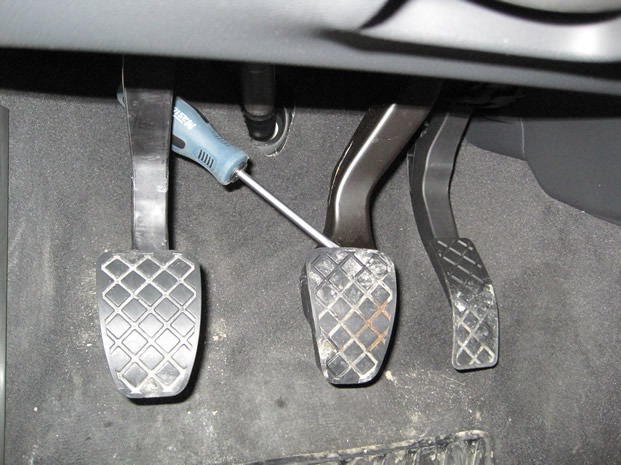
As you can see by these pictures the pedal is open at the top.
OK the Clutch pedal. Your on your own sorta. I tried to pry it off the same way as the brake and broke one of the corners of the pedal. If I had to do it over I would try and pry it off from the bottom and work it up or just try and cut it off. The break didn't hurt getting the new pedal back on and secure but it was annoying. Take a look at the pedal and you'll have an idea of what your working with:
Why Audi didn't use the same design for the clutch and brake pedal is beyond me.
You don't remove the gas pedal you have to go over top of that one.
Installation time:
Do the brake first, it's easy and gets you started.
Take one at a time out of the pot so they don't cool. I don't have much in the way of pictures here. You took them off so you should know what your in for.
Hints for the brake and clutch. I got over half on with out an issue and then used a small screwdriver to flip the edge over the pedal. Being warm it was pliable and eventually made it over the pedal. The clutch of course not having an open end was the real PITA!!!!
The gas pedal has a rubber flap on one side and is solid metal on the other. Before you start this one spray a bit of lubricant on the back of the pedal to help it slide a bit better.
For this one I slid the pedal up making sure the solid side (right) was in place. I then used a small screwdrive again to flip the rubber edge over the existing pedal. It's much easier said than done but over all an hour outside to get it all in place.
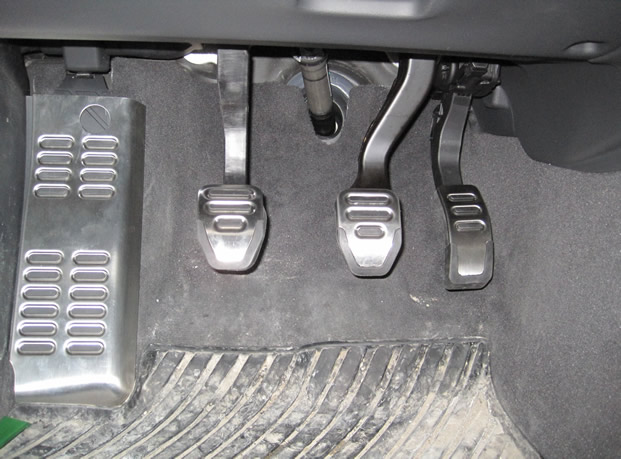
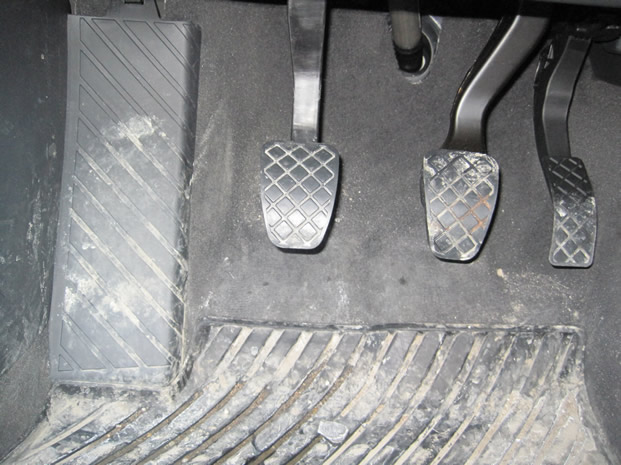
There you go back in place. Ignore the extra tools you see in the pictures at the start. I tried different items and none of them worked so you just need what I listed unless you come up with something that works better on your own.
Sorry I can't provide more help on this one but I hope this gives you a good start.
Please note: AudiEnthusiast.com is in no way associated to Audi or VW in any way shape or form. All brand names and manufacturers listed here are for informational purposes only and are in no way endorsed by AudiEnthusiasts.com unless stated other wise.
WARNING!! All modifications and changes are done at your own risk. This site in no way approves the modifications performed here for your vehicle. Please check with your dealer before performing any changes as they may void portions of your factory warranty.